I have shared before that my sister Betty and I are in the process of remodeling an old family carpet store into our very own vintage furniture and home decor shop. We are so excited but it is such a slow go since we both hold down jobs and have family obligations. But we are making some progress.
We are finally beginning work on the inside (I will post some pictures of our completed cottage/country porch soon). My brother-in-law has been patching multiple holes in the dry wall (where previous hangers for carpet samples were mounted) and is ready to paint the half of the building he is currently working on. Why just half of the building you may ask? Because we have our vintage junk stored in the other half! Our game plan is to do one side and then flip and do the other.
My post-holiday project today was to tackle the wood paneling on the front side of our counter. I had this vision of a whitewashed effect. You know, like you see in beach cottages. I did a little (several hours) research on Pinterest (are you surprised?) on whitewashing paneling and quite frankly they all were very labor intense. In addition to being a great procrastinator, I am not so crazy about doing multiple prepping steps. That's when I got the idea to try my Annie Sloan Chalk Paint! It is famous for no prep work and I had about 1/3 can of Old White left. So I decided to give it a try.
 |
| Please, please do not look at the clutter. |
I mixed my Chalk Paint 50/50 with water and brushed it on the paneling. I was not sure if it would adhere since I was not doing any prep work at all. I then wiped off the excess paint gently with an old T-shirt.
 |
| My 50/50 Annie Sloan wash |
Miracles of miracles, it adhered perfectly! However, one coat just didn't look right.
 |
| Annie Sloan wash on left, wiped off on right |
I decided to try a second coat using the same technique. By now I had it down to a process and had learned how much pressure to apply while wiping off the paint. With coat number two, it was looking much closer to what I had envisioned.
 |
| After two coats...I'm liking this! |
The thing about Chalk Paint is it looks flat and, well, chalky. It has a rough, chalky texture as well.
 |
| Great coverage...but flat and chalky. |
So I decided to use some of my Annie Sloan Clear Wax. It tones down the chalky look and always gives a nice finish to my painted furniture pieces. So why not on a wall?
 |
| OK...much better detail and the finish is smoother. |
After doing the first section I knew this was the look I was going for.
 |
| Looking better! |
It now looks very cottage-like and once we get the baseboards and walls painted it will make the kind of statement I hoped for. We still have a great deal of work to do but I love seeing the vision unfold!
 |
| All in all...not a bad day's work! |
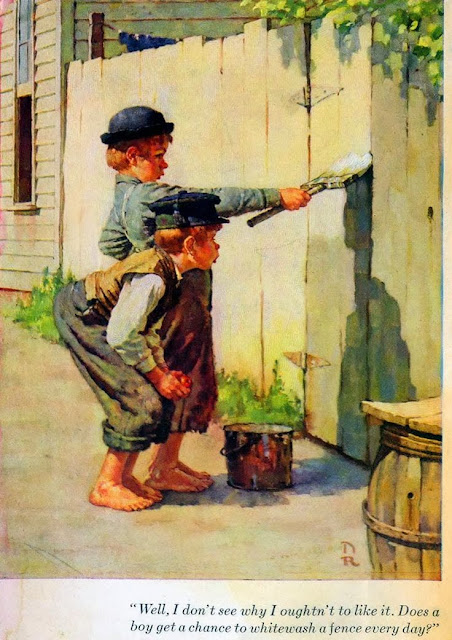
As I was whitewashing and waxing the wall I could not help but think of Tom Sawyer! I kept waiting for someone to come along and want to have some fun too...but alas....no one came!
Until next time,
Donna


Hi Donna,
ReplyDeleteThanks for writing this - like you I hate all the prep work before painting so this will save me a huge amount of time when we do all our wood-panelled walls!
Cheers
Lynn
Canvas prints that look stunning large canvas
ReplyDelete